Depending on your needs, you may sometimes want to add or upgrade the RAM in your Windows 11 pc. While adding more RAM to a computer is pretty easy, your motherboard should have an additional memory slot. If your motherboard doesn’t have any additional memory slot left, purchasing a new RAM Stick makes no sense. Also Read: How to Disable Hibernate Mode in Windows 11
3 Ways to Find Available Memory Slots on Windows 11
So, before purchasing a new RAM stick, ensure that your motherboard has an extra slot left for the new addition. The good thing is that you don’t need to open the chassis of your PC to check the available RAM slot; you need to use either the Task Manager or CMD/PowerShell to check the available memory slot in Windows 11.
1) Check Available Memory Slots via Task Manager
You can use Windows 11’s Task Manager to check the available memory slots. Here are some of the simple steps you need to follow.
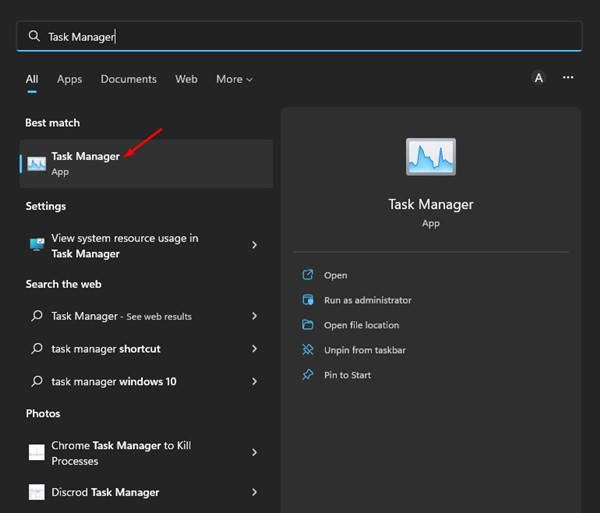
First, click on the Windows 11 search and type Task Manager. Next, open the Task Manager app from the list.
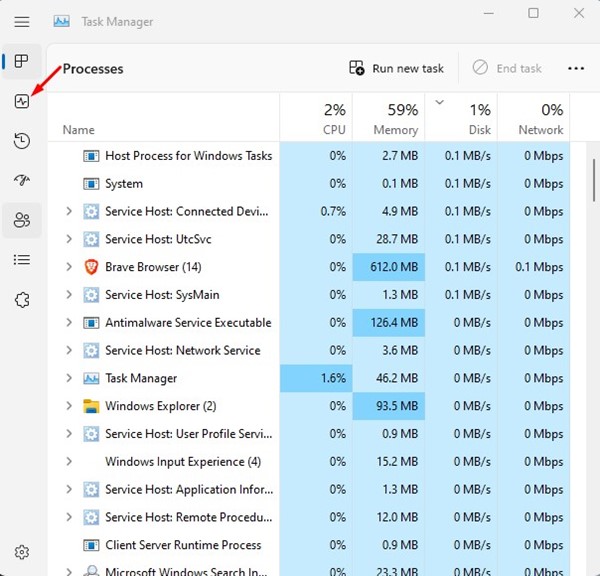
On the Task Manager, switch to the Performance tab on the left sidebar.
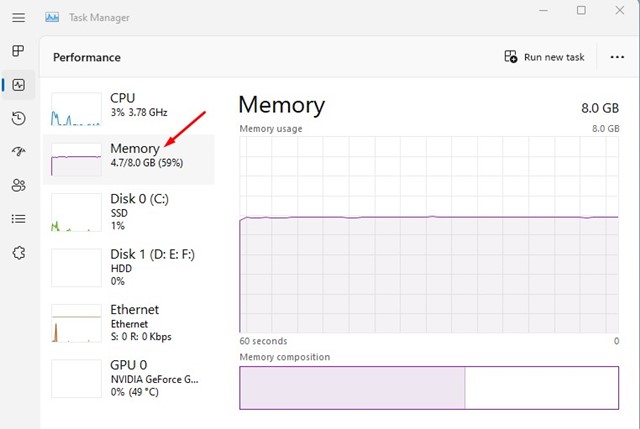
On the Performance screen, select Memory.
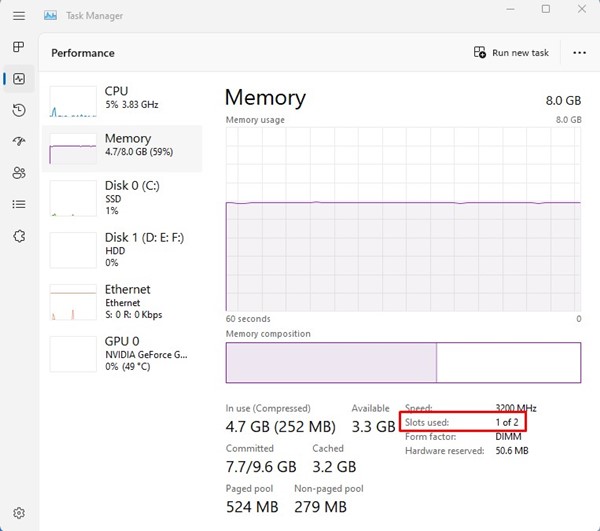
On the right pane, scroll down and check the Slots used.
That’s it! The slots used section will show whether or not your motherboard has an extra memory slot.
2) Find Available Memory Slots via PowerShell
Like the Task Manager, you can also use the PowerShell utility to find available memory slots on Windows 11. Just follow some of the simple steps we have shared below.
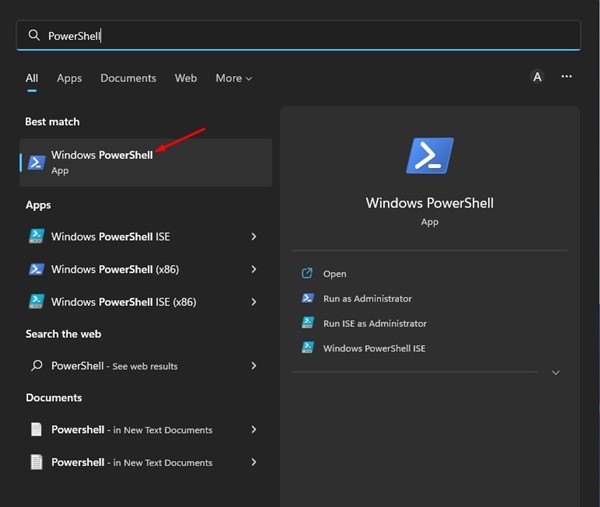
First, click on the Windows 11 search and type PowerShell. Next, open the PowerShell utility from the list of options.
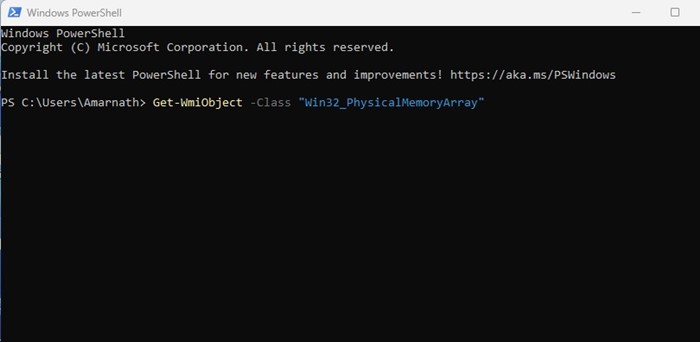
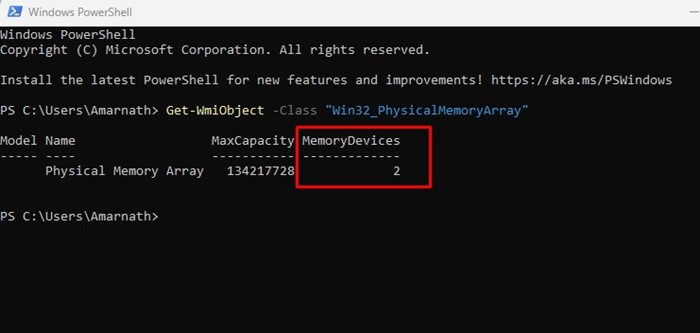
On the PowerShell, execute the command: Get-WmiObject -Class “Win32_PhysicalMemoryArray”
The digit under the Memory Devices indicates the total number of memory slots on your motherboard.
That’s it! This is how you can use Windows 11’s PowerShell to find the available memory slots.
3) Find Available Memory Slots via Command Prompt
You can also use Command Prompt to find available memory slots on Windows 11 computers. Here’s what you need to do.
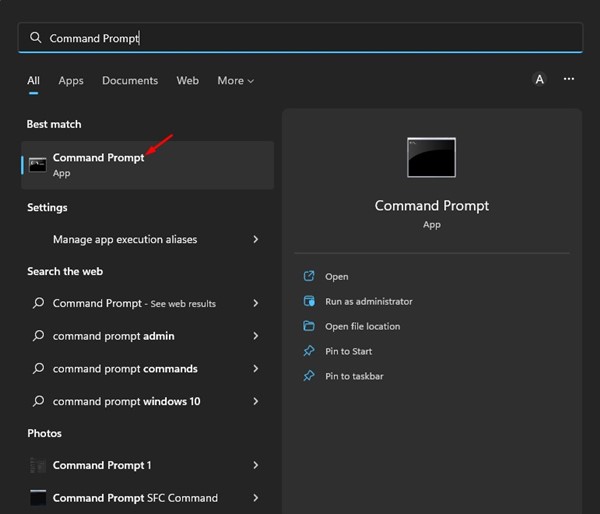
Click on the Windows 11 search and type in Command Prompt. Next, open the Command Prompt app from the list of matching results.
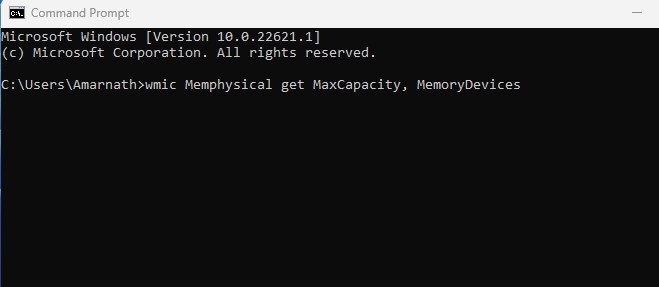
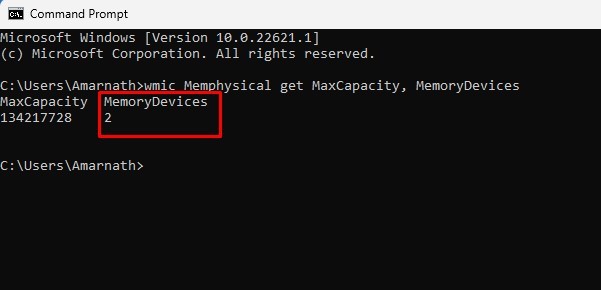
On the Command prompt, paste the given command and hit the Enter button. wmic Memphysical get MaxCapacity, MemoryDevices
The digit under the Memory Devices column indicates the total memory slot on your motherboard.
That’s it! This is how you can find available memory slots on Windows 11 via Command Prompt utility. Also Read: How to Repair & Reset WhatsApp App in Windows 11 Before upgrading your computer, it’s best to have as much information about your system as possible. It’s recommended to check your PC’s full specification on Windows 11 before upgrading the hardware components. So, that’s all about how to find available memory slots on Windows 11. If you need any more help, let us know in the comments.
Δ